It is a great pleasure to share me along with my organization Brain Station 23 has been selected for the STP (Seed Transformation Program) of Stanford University with a duration of one year. I had a dream to study in both MIT and Stanford. Last October I could join Innovation leadership program where our team became champion. This time it’s Stanford. Alhamdulillah.
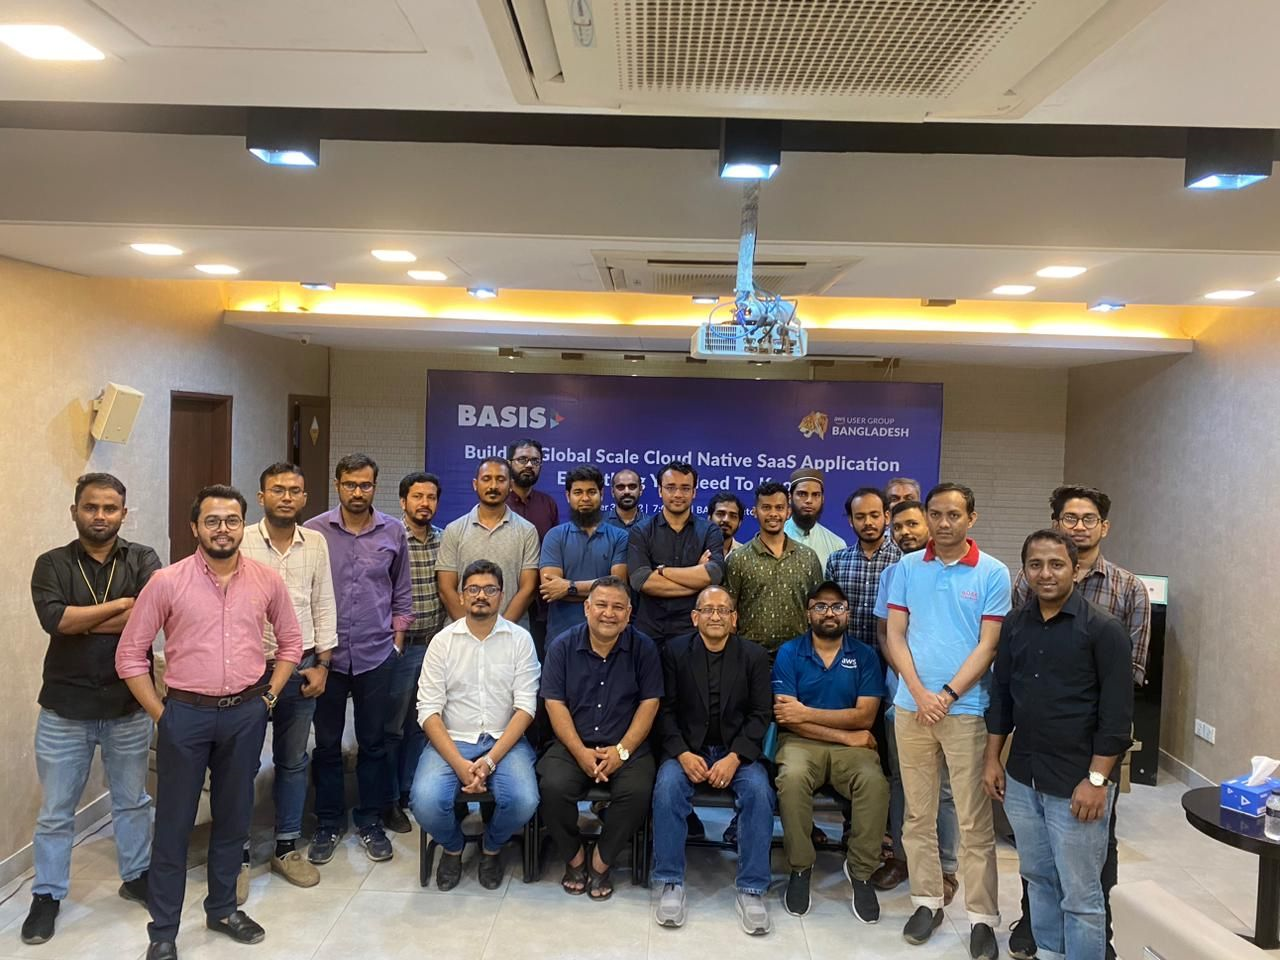
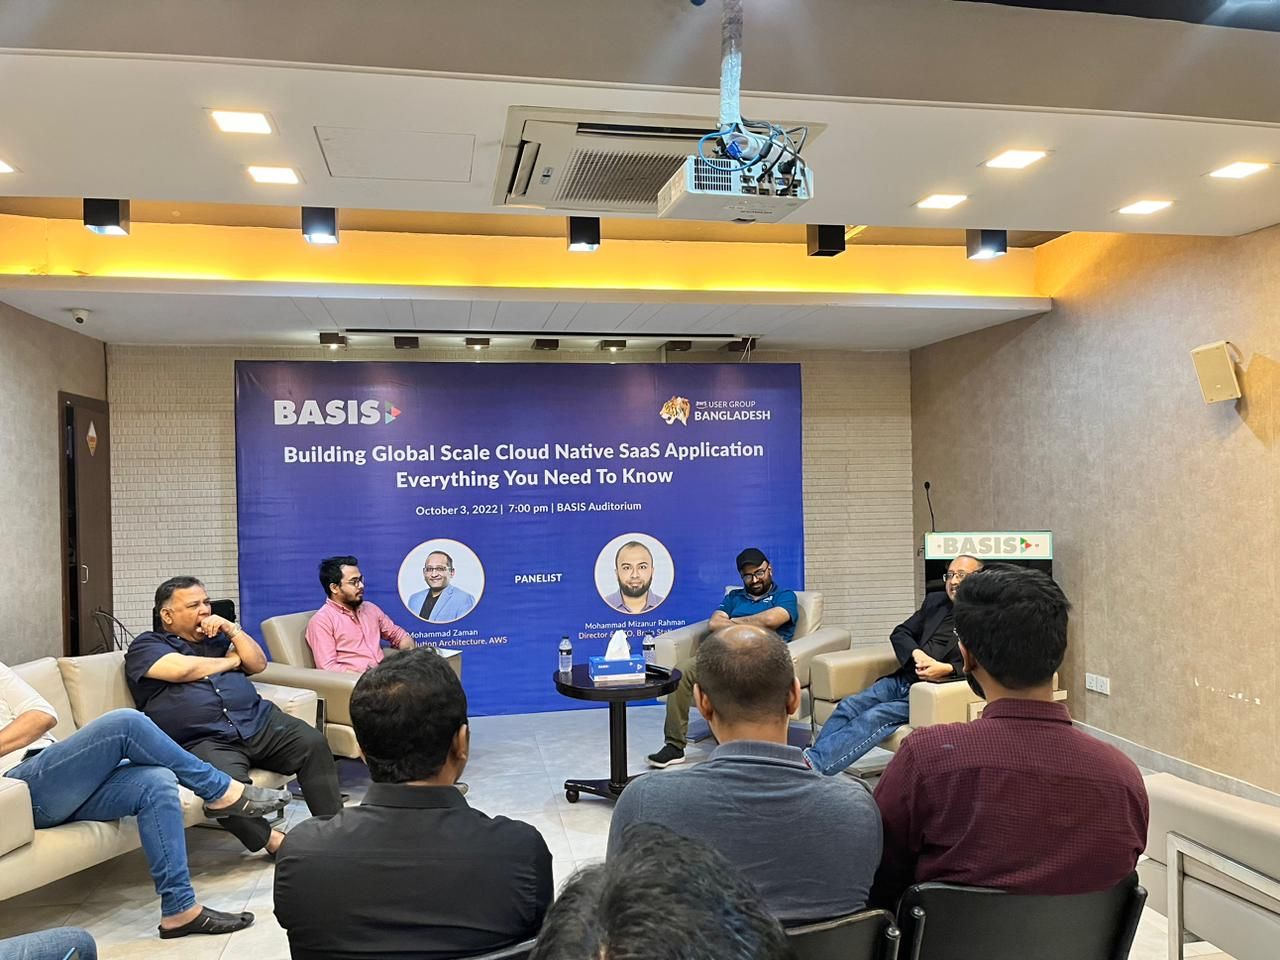
It was an interesting session with tech entrepreneurs and senior tech guys at Basis Auditorium. BASIS (https://basis.org.bd/) is the Software association of Bangladesh.
Me along with Zaman Bhai of AWS tried to share different aspect in building cloud native SaaS solution in both global and local aspect. Different discussion points were helpful for everyone related to the current trend. We also discussed about different challenges and potential solutions.
Fintech is highly regulated segment in every country. Bangladeshi fintech is also the same which becomes a major constraints in leveraging latest technology capacity. One of the top 2 Banks in Bangladesh were also very keen to leverage the cloud service capacity to manage their internal developed projects. In that direction, they wanted to have CI/CD capacity for all of their internal projects. Since all of their resources are in private network capacity, a number of challenges came up which are not applicable for standard environment. I have shared few challenges below:
No internet access to the environment and they won’t allow the internet for any case in this CI/CD process
No access to the client’s servers by us.
On-premise outdated gitlab repo servers
Their existing deployment process is completely manual
To address the above challenges, we had to align all the activities which are aligned with their compliances/restrictions.
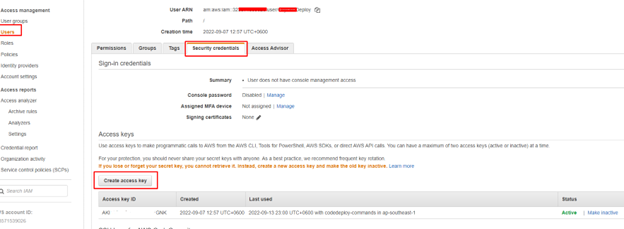
Create an IAM user that the on-premises instance will use to authenticate and interact with CodeDeploy. No need to apply for any permission at this stage.
Add a configuration file to the on-premises instance, using root or administrator permissions. This configuration file will be used to declare the IAM user credentials and the target AWS region to be used for CodeDeploy. The file must be added to a specific location on the on-premises instance. The file must include the IAM user’s ARN, secret key ID, secret access key, and the target AWS region. The file must follow a specific format.
Create a file named codedeploy.onpremises.yml in the following location on the on-premises instance: /etc/codedeploy-agent/conf
Use a text editor to add the following information to the newly created codedeploy.onpremises.yml file:
—
aws_access_key_id: secret-key-id
aws_secret_access_key: secret-access-key
iam_user_arn: iam-user-arn
region: supported-region
3. Under the following directory (/etc/codedeploy-agent/conf) edit codedeployagent.yml file and set proxy URL as below
You need to install and configure AWS CLI on your local machine and your user must have the required permission to register the on-premises instance and tag it.
Find out the ARN of the user you have created in step 1 and register the deploy using the following command:
You can use either the AWS CLI or the CodeDeploy console to tag the on-premises instance. (CodeDeploy uses on-premises instance tags to identify the deployment targets during a deployment.)
If you want to register from the CLI, use the following command
Client’s internal Gitlab server can access AWS over site-to-site VPN
Target deployment server (where code deploy agent will be installed) can access AWS over site-to-site VPN
Target deployment server (where code deploy agent will be installed) can access proxy server hosted on AWS (IP: 10.35.5.30, PORT: 3128) over site-to-site VPN
Internet access on Target deployment server to install code deploy agent and AWS CLI
There has been major disruption in technology and software engineering segment for last several years. Different tech giants are trying to come up with different solutions to make the life easier. We are seeing lots of low code/no code platform like Amazon Honeycode, Google AppSheet, Assembla, Appfarm etc. now which can be leveraged with very minimum/no coding expertise in building different business solution. Potentially we might see dynamic shift in coming days.
We all know about Github Copilot which works as AI-coding assistant. Many developers have already adopted this for their development process. Now AWS came up with Amazon CodeWhisperer to provide the similar or better kind of service.
For instance, if you want to write a code in python and comment “Function to upload a code in S3 bucket”, CodeWhisperer will assist with the required code like below:
According to Amazon, this will not only assist with the coding assistance but also consider the followings as well:
It will keep your coding style into consideration: CodeWhisperer automatically analyses the comment, determines which cloud services and public libraries are best suited for the specified task, and recommends a code snippet directly in the source code editor. The recommendations are synthesized based on your coding style and variable names and are not simply snippets
Security is considered: CodeWhisperer keeps security as a priority, too, claims Amazon. It provides security scans for Java and Python to help developers detect vulnerabilities in their projects and build applications responsibly. It also includes a reference tracker that detects whether a code recommendation might be similar to particular training data. Developers can then easily find and review the code example and decide whether to use the code in their project.
We see the possibility of having AWS Outposts in Bangladesh. This will potentially be a great advantage for highly regulated industries where there is restrictions in having the data out of the country and need very low latency. This will encourage more to the hybrid cloud by different companies. Considering that, a short presentation deck shared below :
As a team, we always come up with different challenges. Without précised and directional discussion, we fail to find proper solution to that. Sprint based decision making can help here to find an optimized solution participated by all the team members which reduces the unstructured discussion.
The steps are
Start with Problems — 7 MINS
Present Problems — 4 MIN PER PERSON
Select Problems to Solve— 6 MIN
Reframe Problems as Standardised Challenges — 6 MIN
Produce Solutions — 7 MIN
Vote on Solutions — 10 MINS
Prioritise Solutions -30 Seconds
Decide what to execute on — 10 MINS
Turn Solutions into Actionable Tasks — 5 MINS
Jonathan has shared it beautifully in the following link. I am confident that it would be really helpful for many of us.
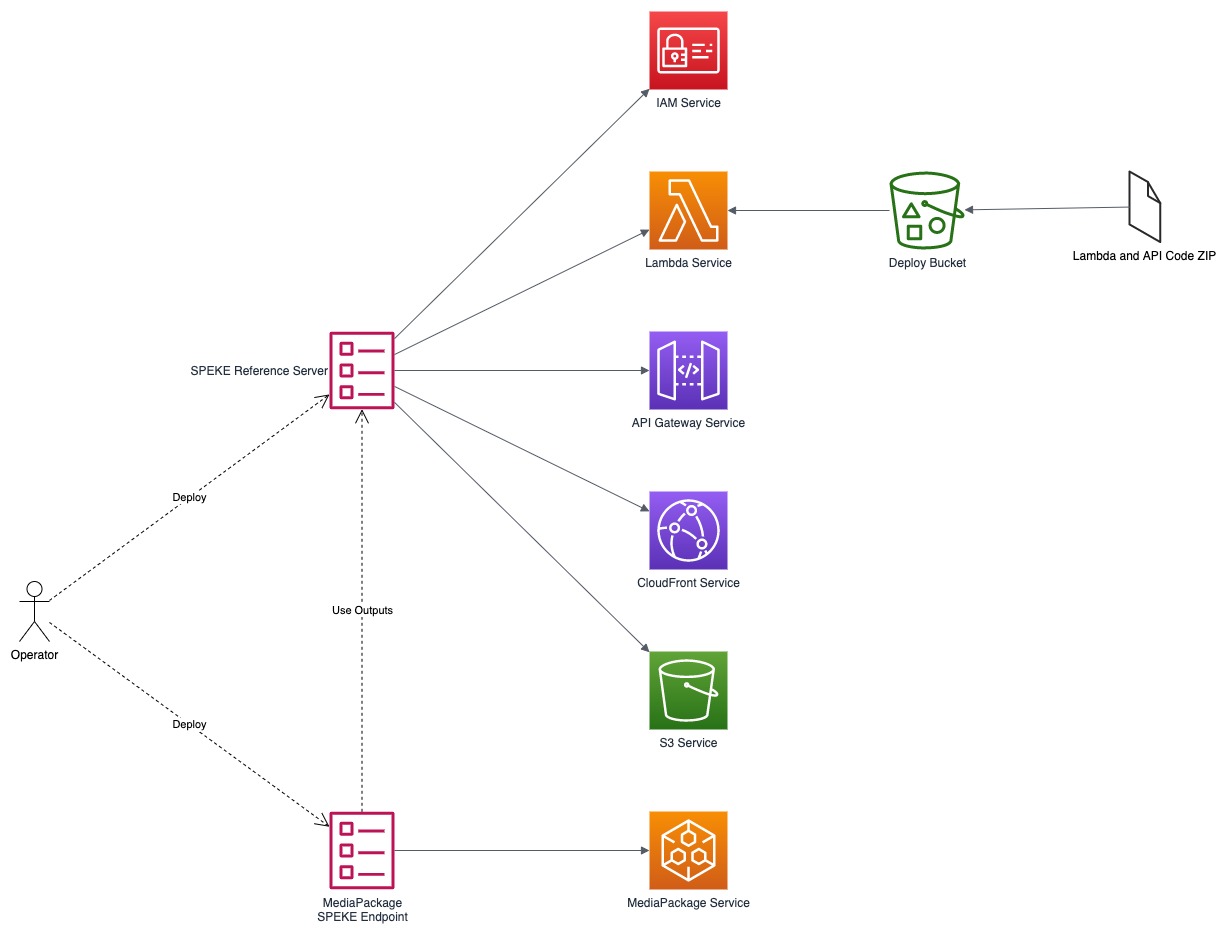
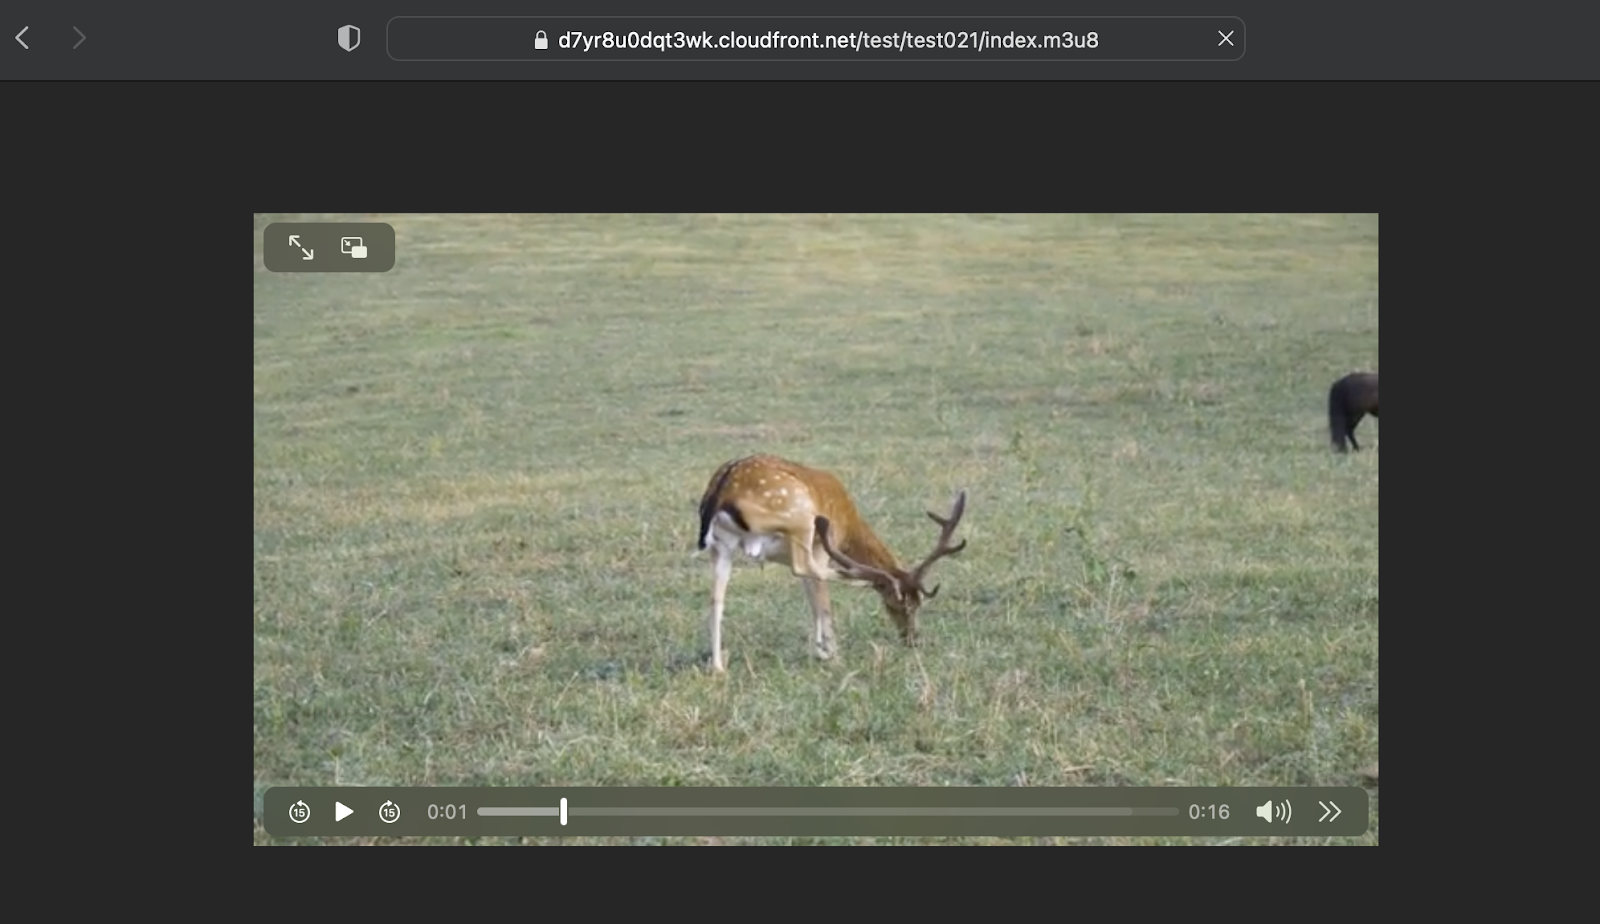
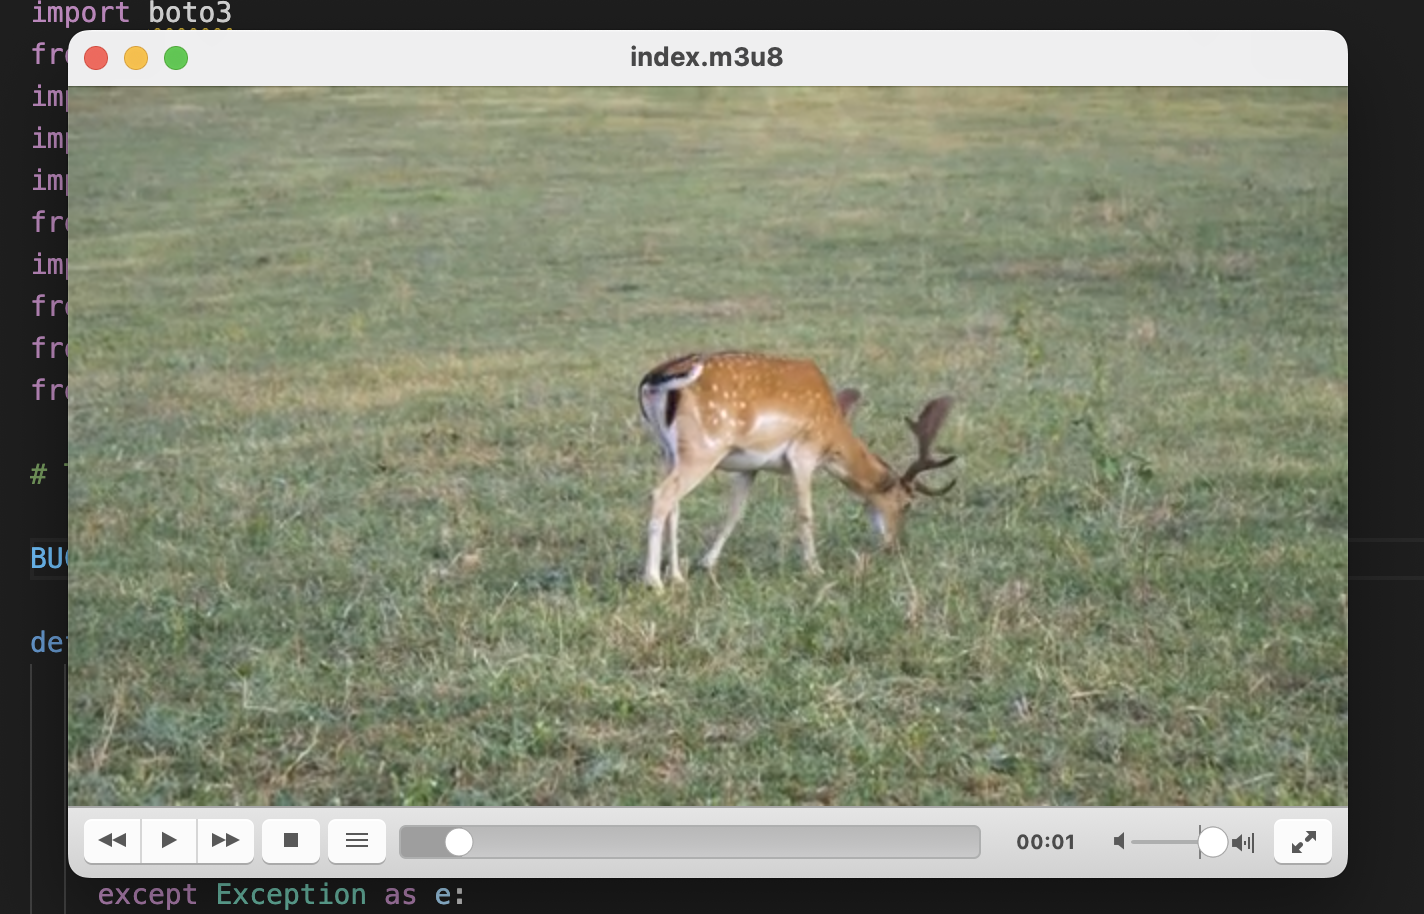
We see overall revenue is declining in voice call for different telco companies. People are using different freely available VoIP solutions like WhatsApp, Viber for both voice and text based communication. To have different revenue stream, companies are focusing on different digital services. In that consideration, one of the top telco service providers in Bangladesh has initiated an OTT platform for their subscriber. All the streams of the platform were unencrypted which was a major concern for them. They wanted to have a secure and protected live streams to their end users which is encrypted and the key is rotated every 5 minutes with an optimized costing. As one of the top AWS solution providers, they came to us how we can help here to achieve their goal.
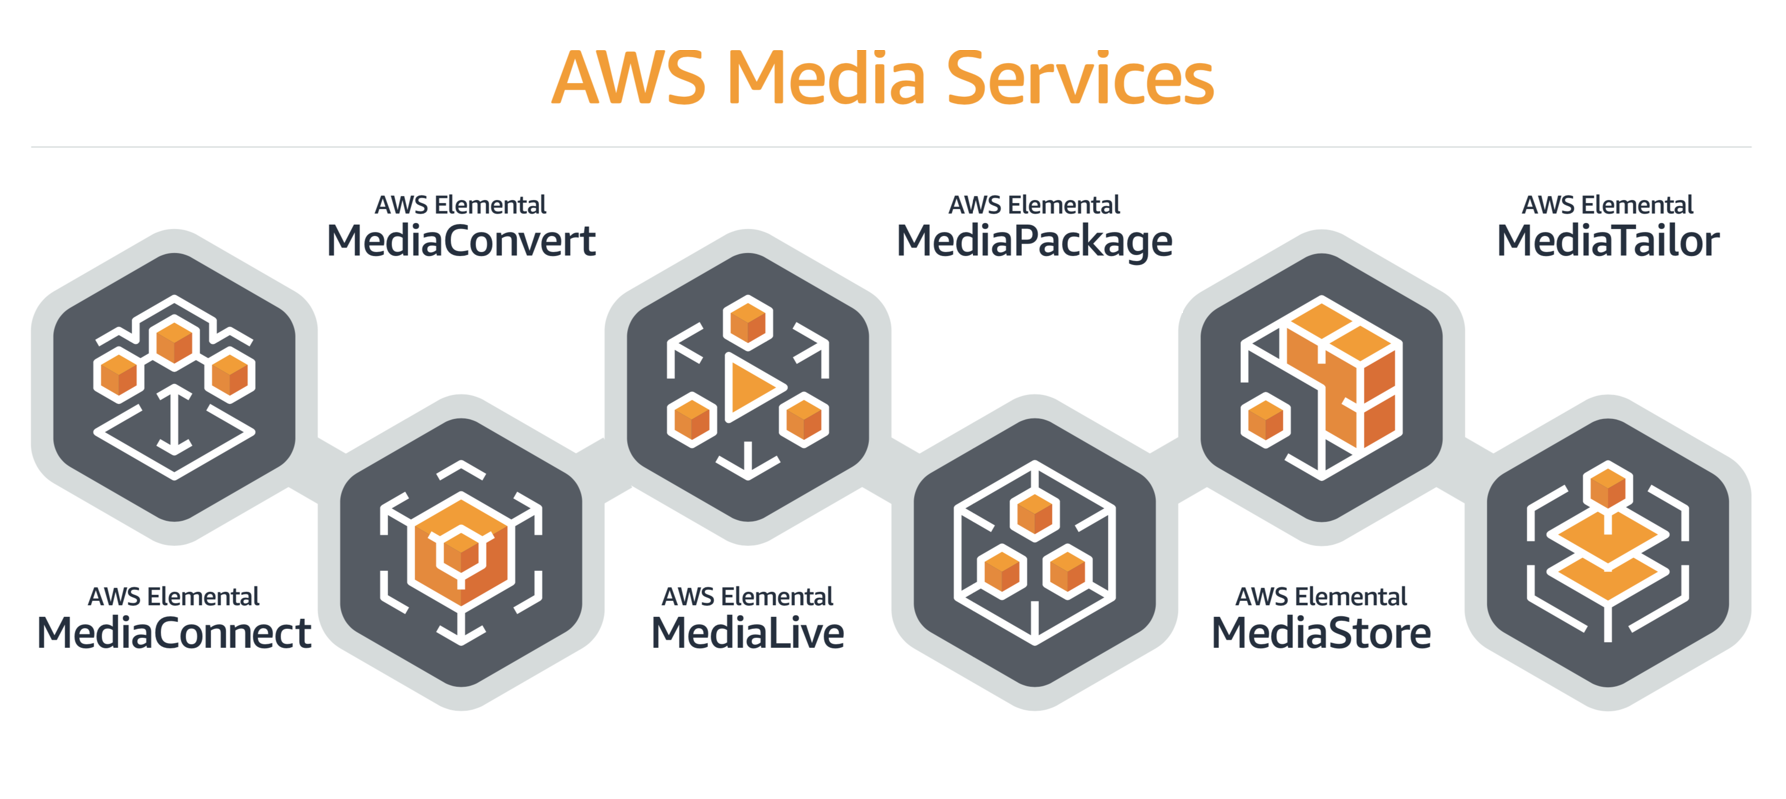
To provide the required solution, we looked for different available solutions like BuyDRM (https://buydrm.com/) , Intertrust (https://www.expressplay.com/) heavily used by industry leaders but the subscription fee was bit expensive which was not aligned with our client. Considering all the aspect, we started looking for opensource free solutions to be customized and Speke reference server came up to be used with AWS Elemental service to serve the purpose.
We can find the opensource repo of the Speke reference server from the following link:
https://github.com/awslabs/speke-reference-server
The Speke reference server solution is done in Python. After digging further, we found a AWS Cloud formation template was based on python 3.6 which is not supported with latest lambda python version (3.9) and a number of used libraries were deprecated in latest version. We stared doing the refactoring to comply the code with python 3.9 which can be found in the following link.
This is a key pointing to an S3 Bucket origin. Every time we convert content through MediaConvert and give a ResourceID, it creates a key with that resource ID on the bucket.
The above POC was aligned with the need. Right now, their existing solution is in process to be refactored leveraging AWS Services, Speke reference server and other relevant technology stakes.
I have been thinking about an online platform which can help the cloud enthusiast in kicking off the the cloud journey. To serve that, cloudemy.xyz domain has been registered. All the courses will be in localized language (Bangla). The development of the platform is in progress. Expected date of release is 1st August 2022. A place holder is there for now till the platform is released. Expecting to create an significant impact in cloud adaptability over here in Bangladesh.
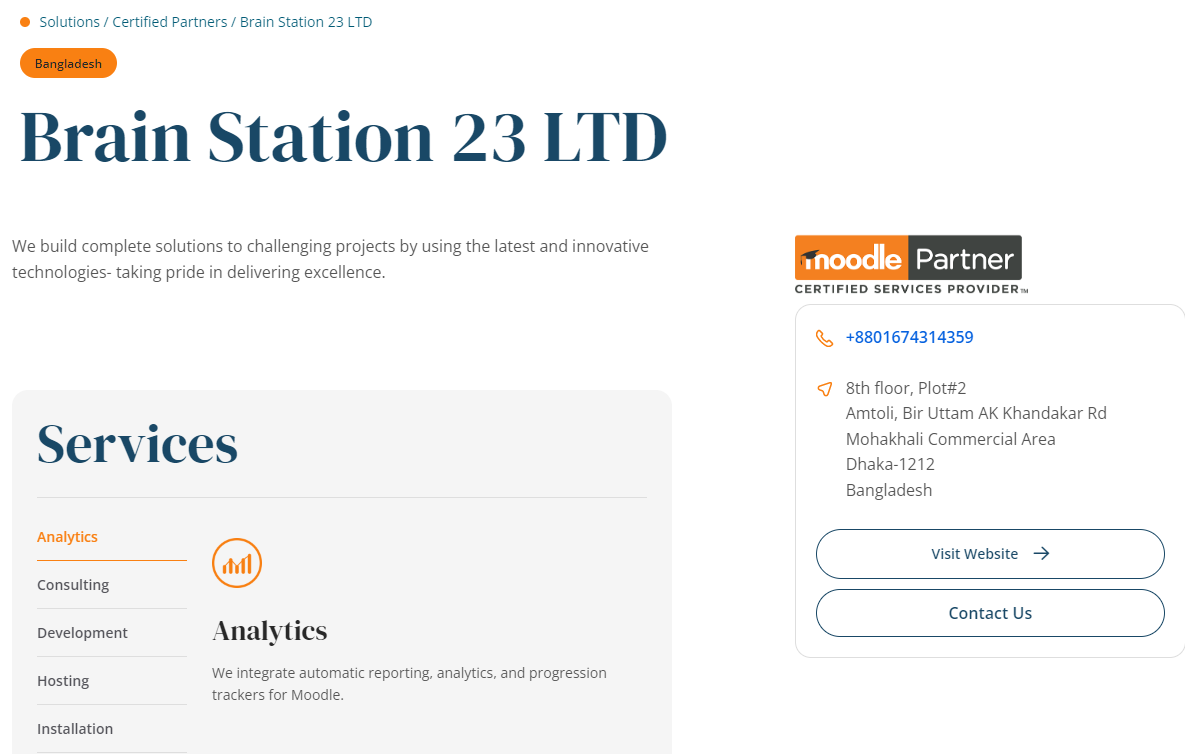
Brain Station 23 is the only solution partner of Moodle in Bangladesh. We have been working with both local and global clients in development and consultancy capacity.
AWS User Group Bangladesh (https://www.facebook.com/groups/AWSBangladesh) was created in both Facebook and LinkedIn to have a strong community of AWS enthusiast. It was established more than 5 years ago and new members are joining to support each other. I am the co-founder of this group and community leader. We have a vision to play a key role in adopting cloud over here. We have been arranging lots of workshop, seminar all these years. Before pandemic, it was all physical event, now we are more into virtual event considering the participants safety. We are continuously contributing in solving different problems by the community members to strengthen the cloud adaptation.